
Zone Lists
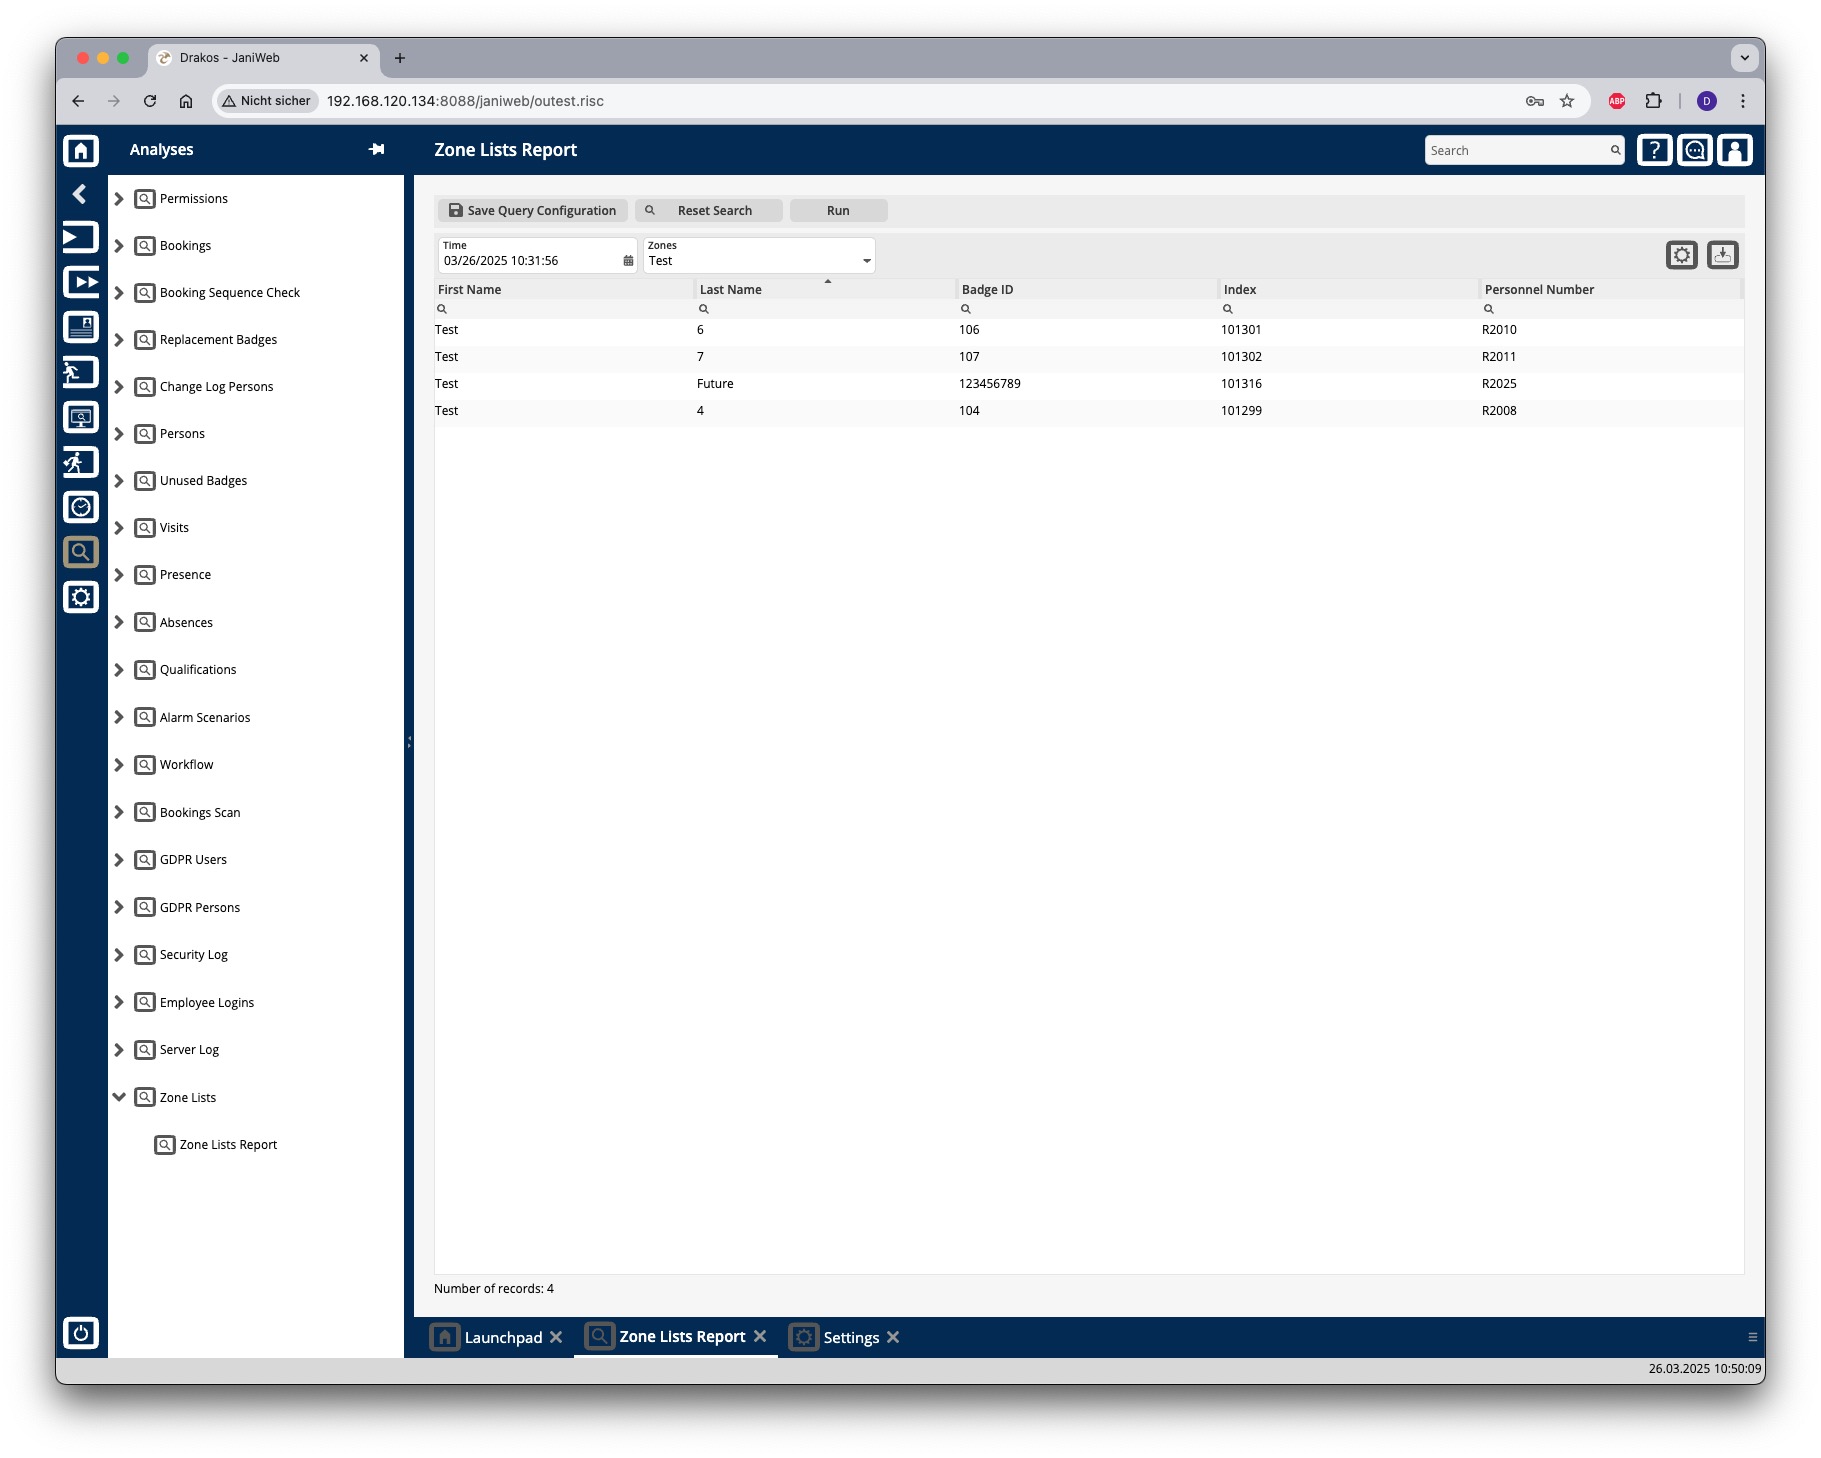
Creating the report
- Enter the point in time for which you want to generate the report.
- Select the zone for which you want to generate the report.
- Press Run to start the report.
Further options with the report
- Select columns to display: Press the gear icon. Select which columns you want to display and in which order. Arrange the columns using the mouse or the arrow icons. Press Apply to adopt the changes.
- Search in columns: Enter text or numbers in the search field (magnifying glass icon) of a column to search for names, personnel numbers, or other criteria. The entries take effect immediately: the list only displays hits.
- Export the entire list: Press the download icon. Select the format in which you want to export the list. The export files are downloaded or displayed depending on the browser/operating system settings. For details on the available export formats, see the General > Export Formats chapter of this manual.
- Save report: For details on saving reports, see the chapter General > Custom Reports.
Would you like to automatically receive regular updates about which individuals are present in a specific zone? Then you can use the Periodic Sending feature. You can find instructions on how to set it up here: General > Custom Reports.
Button Reset Selection
Press Reset Selection to reset all fields to their initial value.