
Time Models
Use this menu item to manage time models for access permissions. By linking a time model to a device group or a single device, you determine the times at which they may be used.
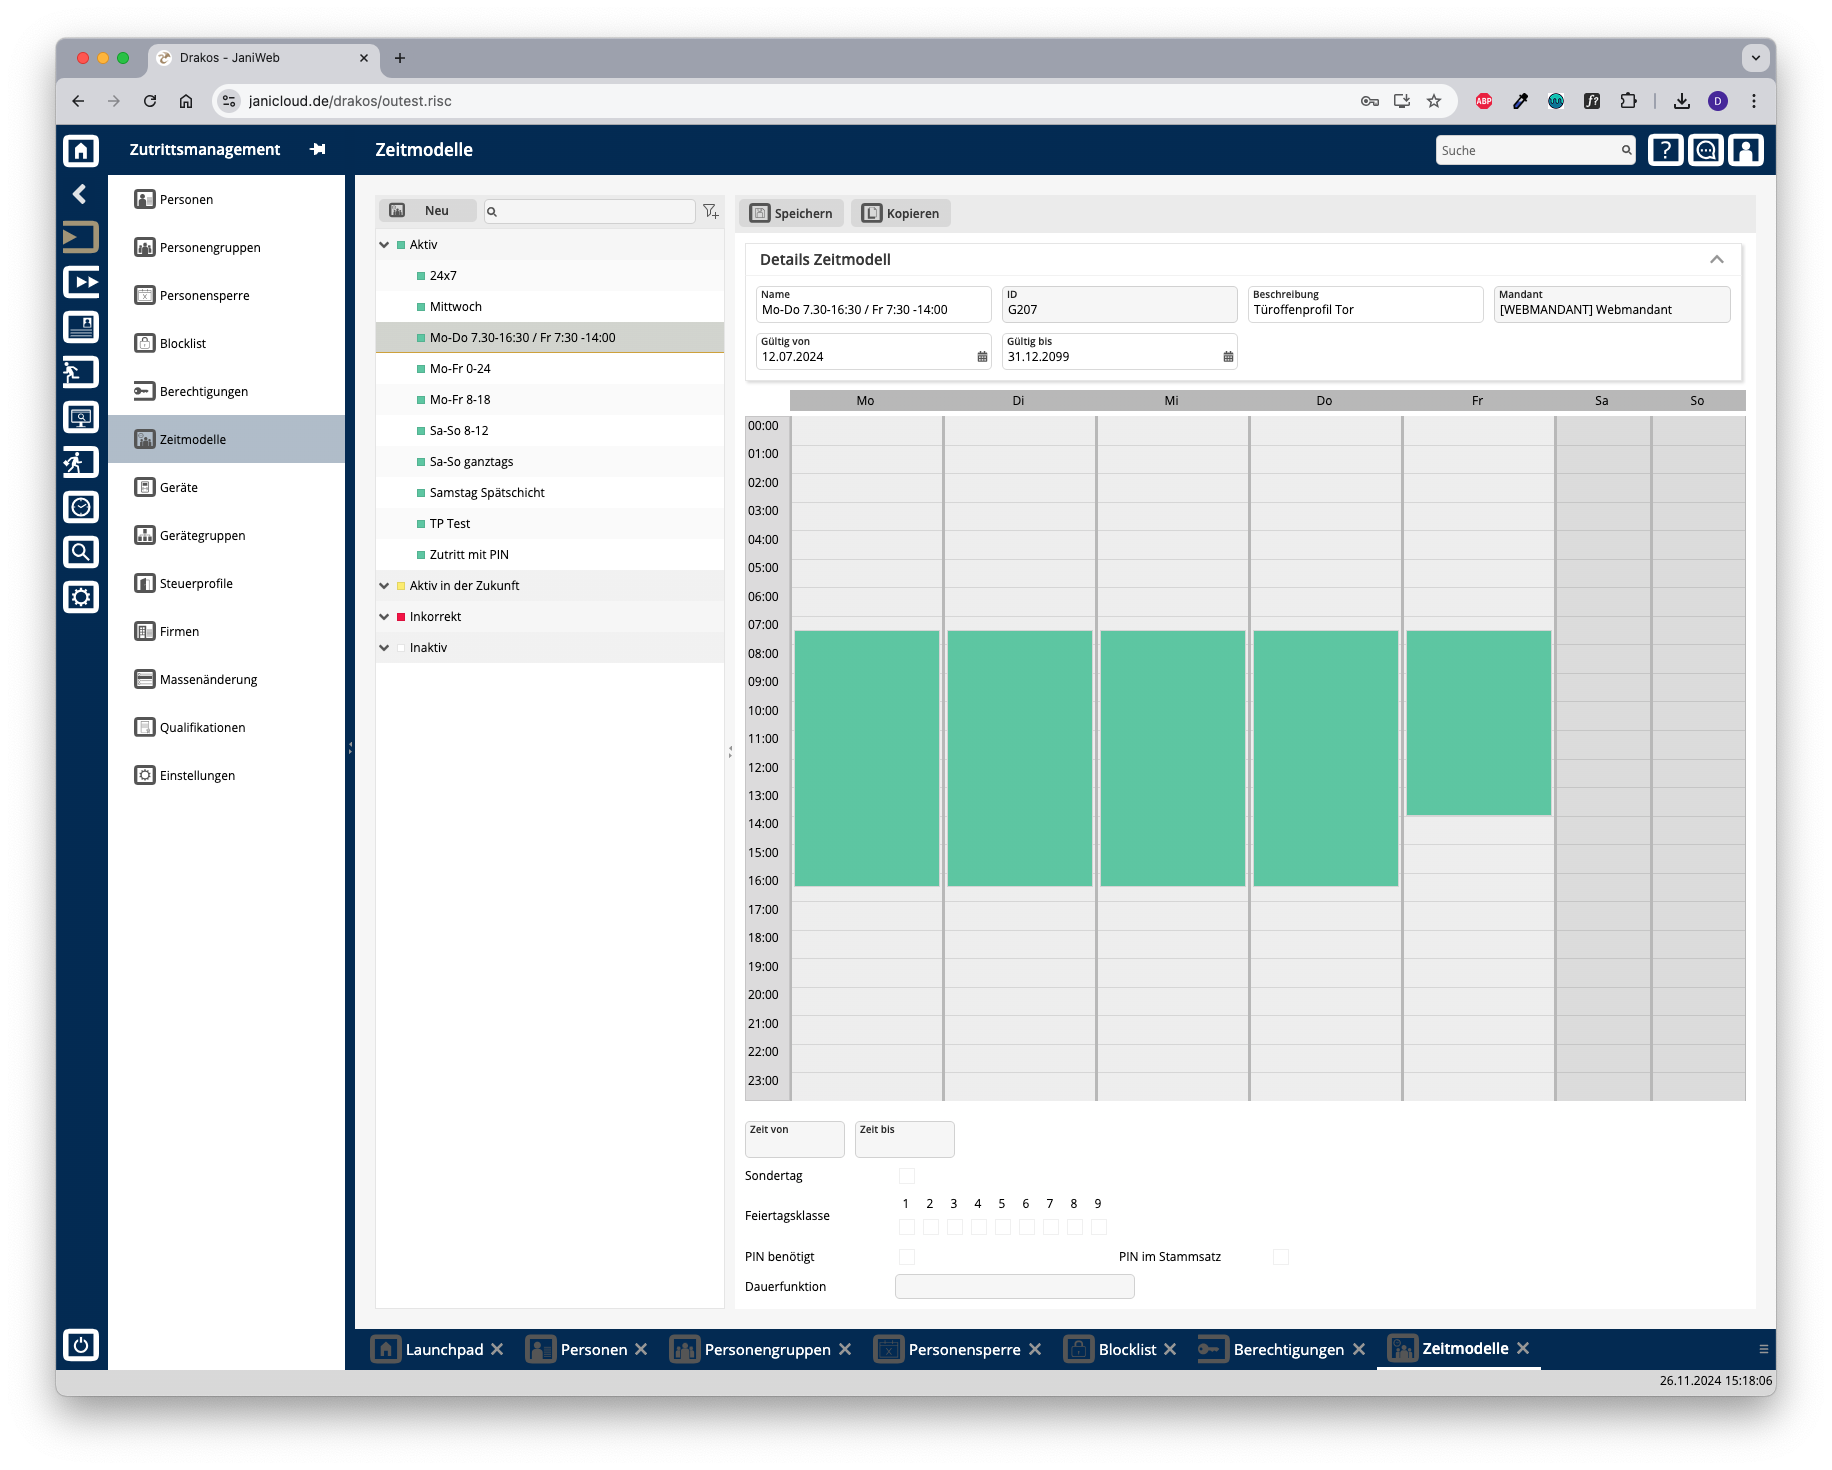
List of time models
The list contains the time models that have already been created. Select a time model to display its properties.
Button New
Press New to create a new time model.
Editing the weekly overview: To define the periods during the week when access should be allowed, proceed as follows:
Right-click on the desired day and select New time period. A green marker appears.
Drag the marker with the mouse or enter the start and end times in the From time and To time fields.
Repeat the steps for all other periods and days that should be included in this time model.
Button Copy
You can copy an existing time model to use as a basis for a new time model. Click Copy at the top to make the desired changes. Then click Save.
TIPS
It is possible to create multiple time periods per day.