
Permissions
Use the menu item Permissions to grant individual persons or entire groups of persons permissions for certain devices or device groups.
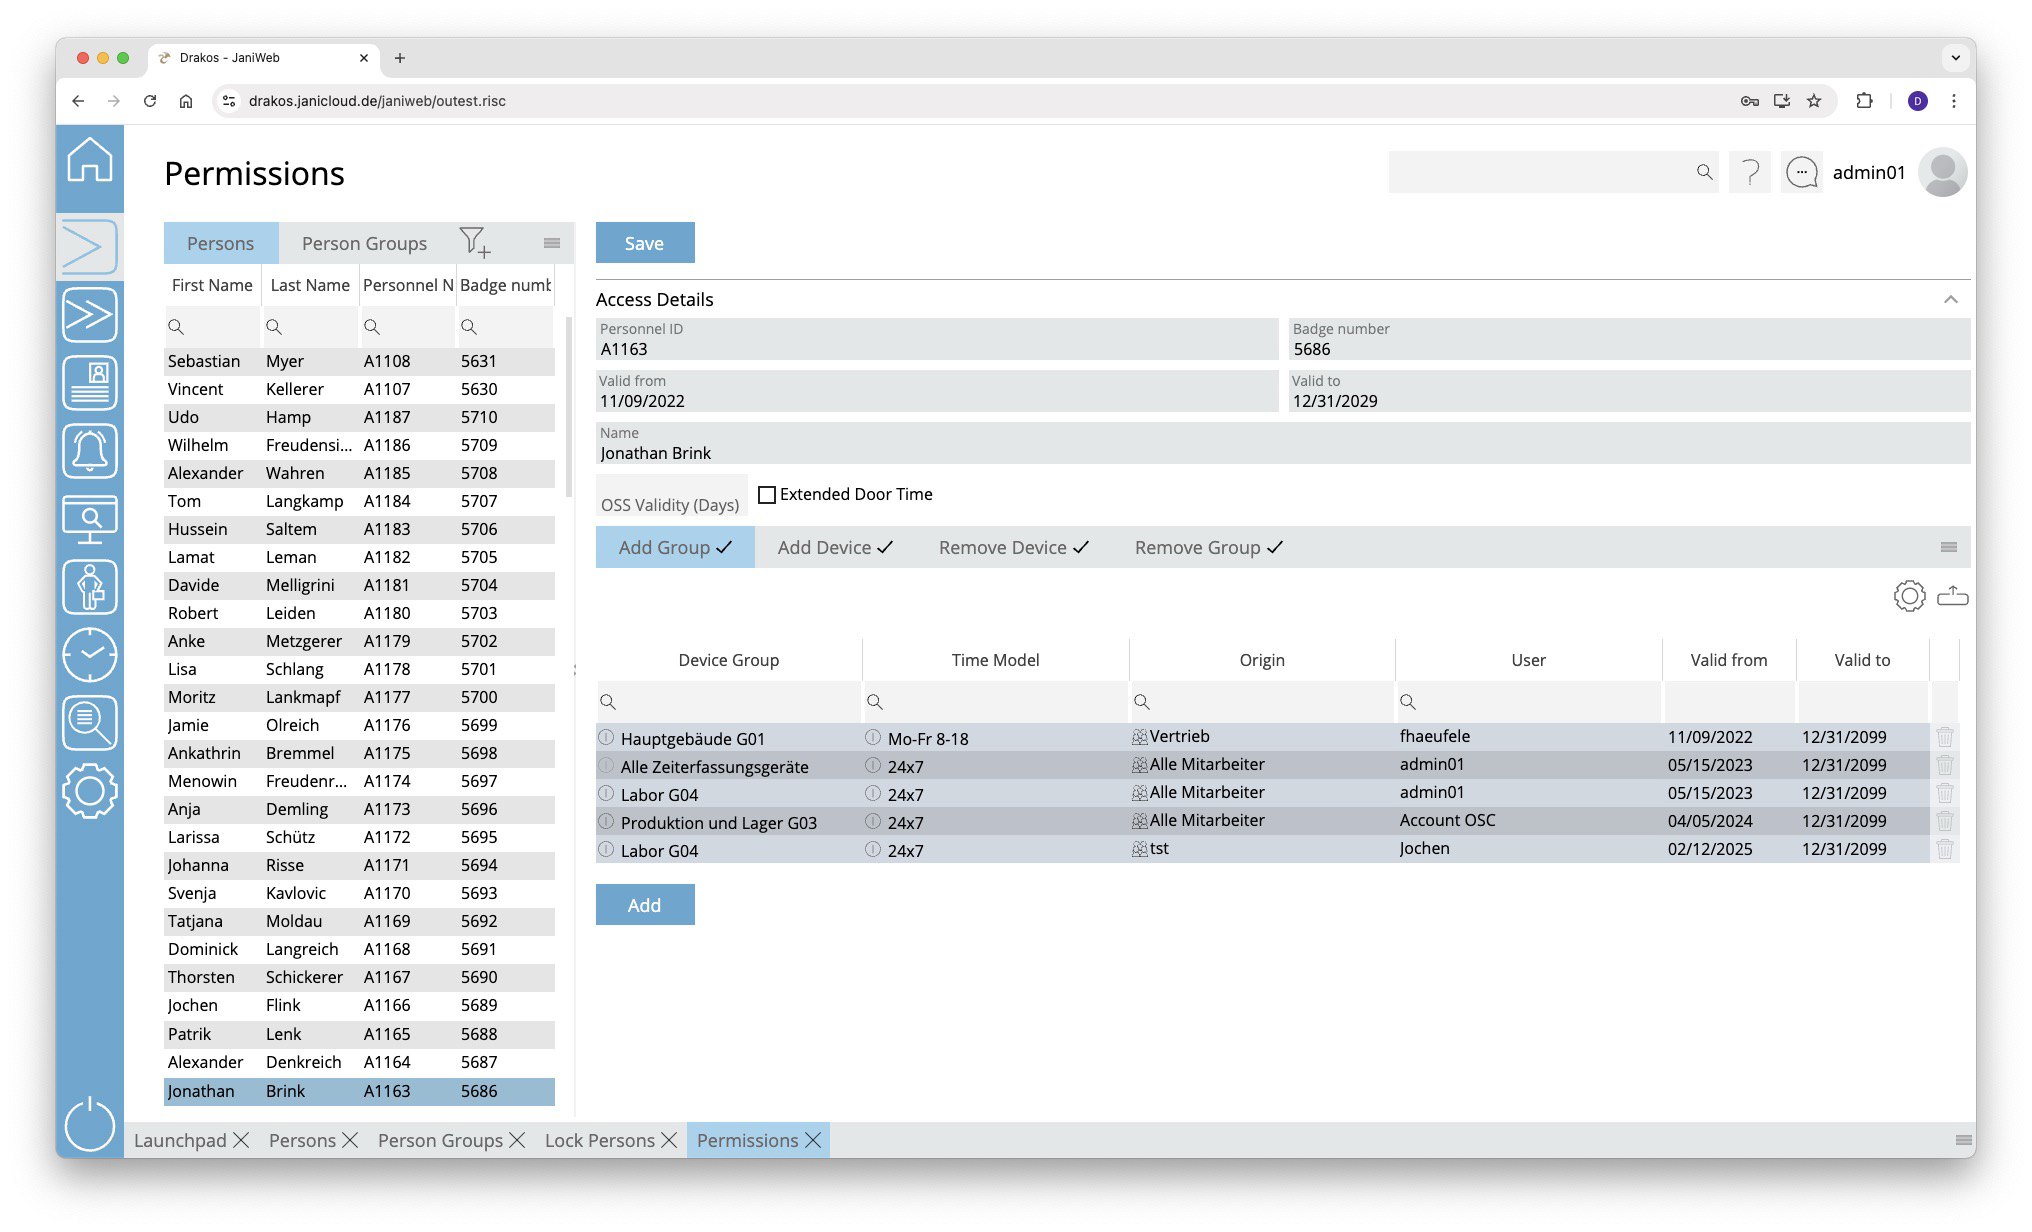
List of persons and groups of persons
Select a person or group of persons from the list on the corresponding tab page to display the existing permissions.
Tabs Add Group / Add Device
Here you can grant the selected person/group of persons permissions to use certain device groups or devices. To add another device group or device to the list:
- Press Add.
- Select a Device Group or a Device.
- Select the desired Time Model.
- Set a validity period.
- Press Save.
A tick after the title of a tab indicates that there is data within the tab.
Tabs Remove Device / Remove Group
These lists are used to remove permissions for certain device groups or devices.
Example: Anna B. belongs to the group of persons called “laboratory technicians”. This group of persons has permission for the device group “laboratory”. However, Anna is not allowed to enter a particular laboratory. Add the access device for this laboratory to the Remove Device list.
To add further device groups or devices to the list, follow the steps in the previous section. However, a time model cannot be selected here.
If the tabs Remove Device or Remove Group contain a device or device group, access via this device or device group is not possible. This also applies if a permission for the device or device group has been granted on the tabs Add Device or Add Group.
A tick after the title of a tab indicates that there is data within the tab.
Workflow Permissions
This feature is optional and not available in every installation.
If assigning a device or device group is associated with a workflow, the permission becomes active only after the decision-maker approves the workflow request.
If you select a device or device group that has a workflow, a dialog box appears. This prompts you to enter values for the time model and the validity of the permission. You also have the option of leaving a comment for the decision-maker.
You can create multiple workflow requests at once. To send them, press Save.
Workflow requests are indicated by different colors:
You can extend the validity of approved permissions. To do this, press Extend. Then select a new validity period and create another workflow request.
TIPS
The column Origin indicates where the permission comes from. For example, the permission might have been inherited by the person, or it might have been granted by the system Janitor.