
Persons
The Persons menu item allows you to manage the personnel in your system. Here you can create new persons or change details of existing persons.
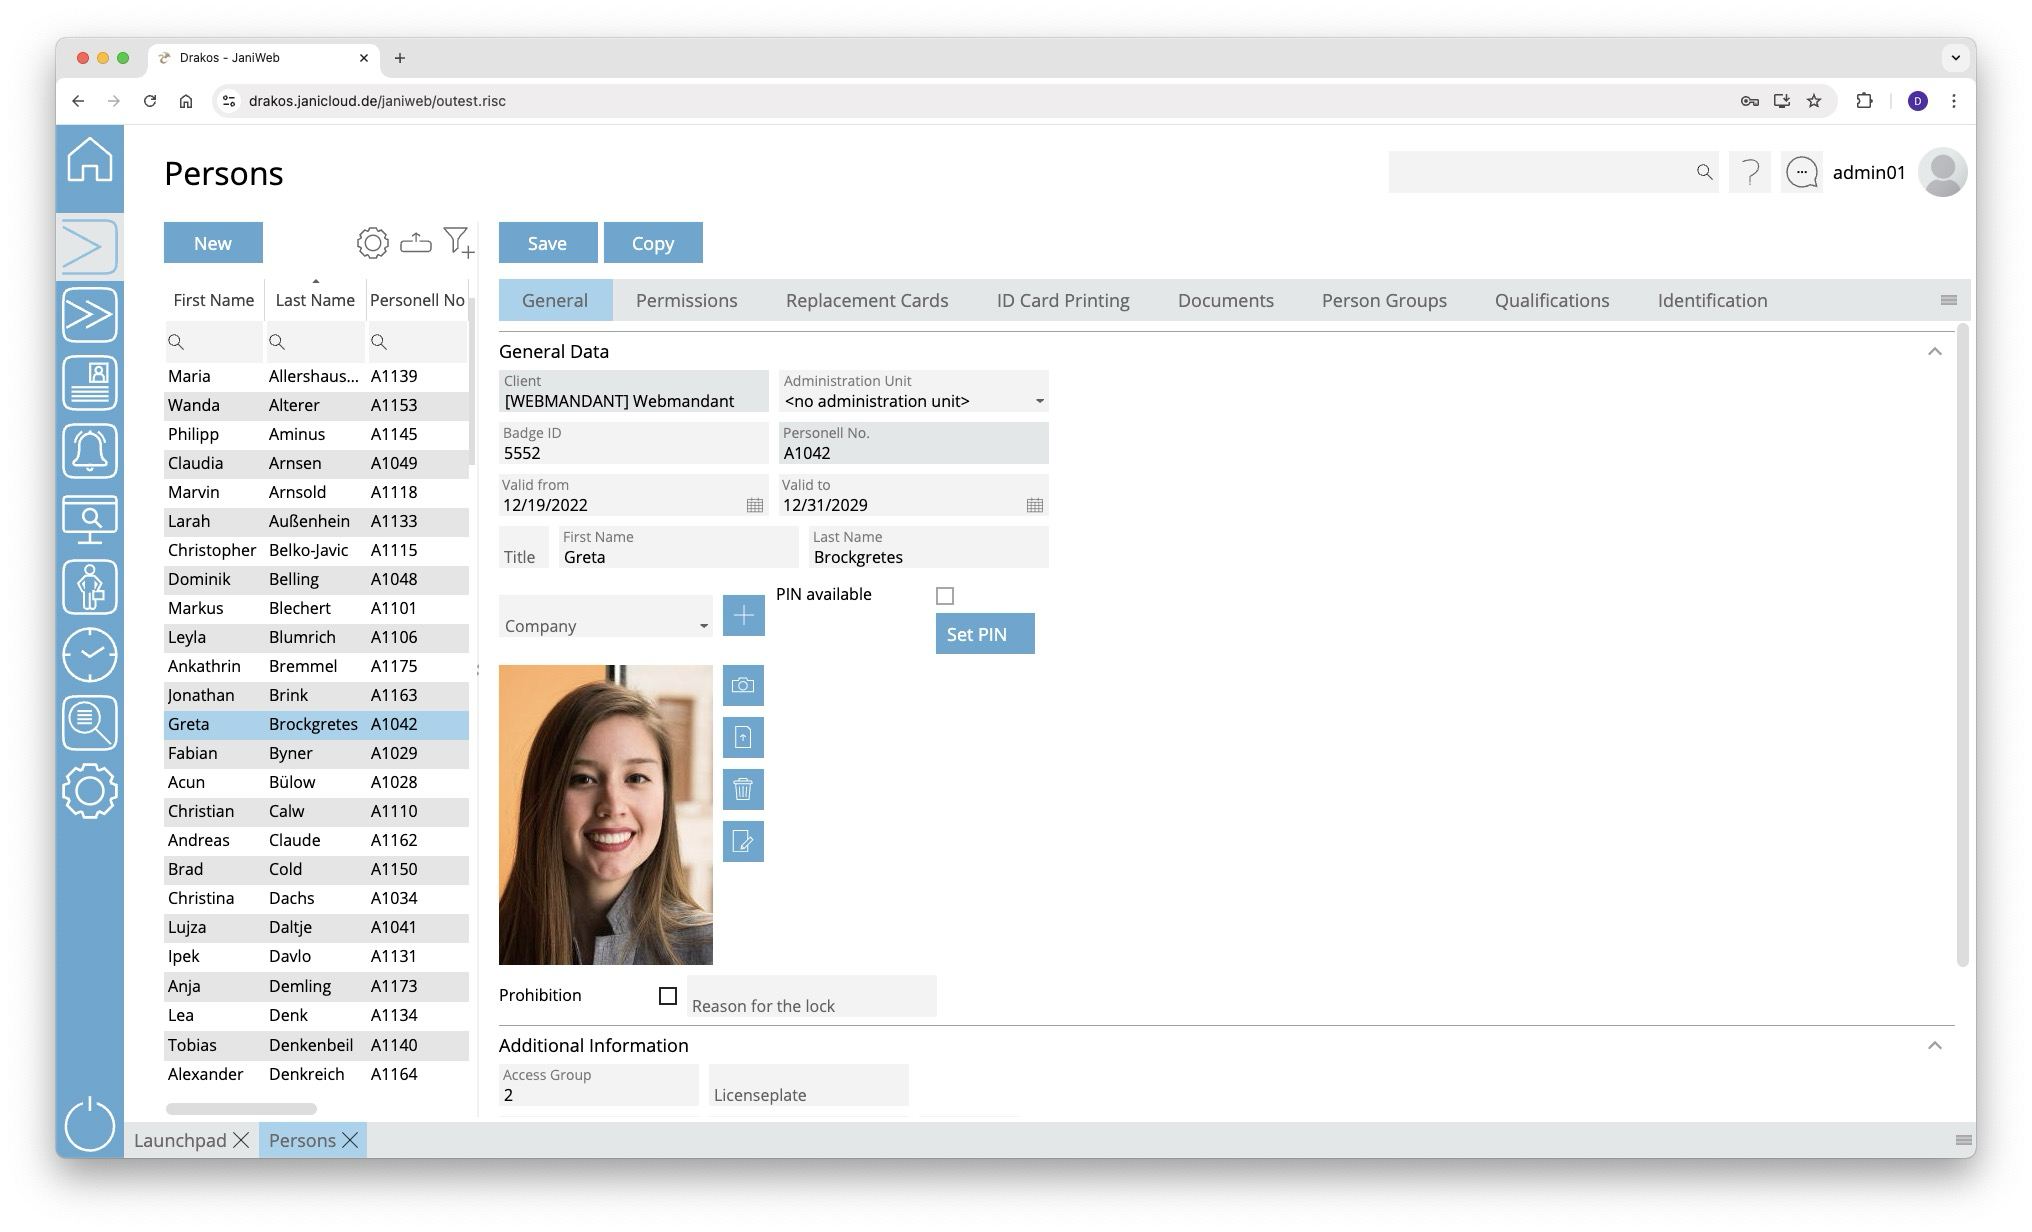
List of persons
The list contains the persons that have already been created. Select a person to view details.
The list offers the following options:
- Select columns to display: Press the gear icon. Select which columns you want to display and in which order. Arrange the columns using the mouse or the arrow icons. Press Apply to adopt the changes.
- Filter by client and status: Press the filter icon. Select the clients and the status (Active, Active in future, Inactive) for which persons should be displayed. Changes are visible immediately.
- Search in columns: Enter text or numbers in the search field (magnifying glass icon) of a column to search for names, personnel numbers, or other criteria. The entries take effect immediately: the list only displays hits.
Tip: Search for substrings. You can find “Spencer-Churchill” with “spe”, “chur” or “hill”. The search is not case sensitive. - Export the entire list: Press the download icon. Select the format in which you want to export the list. The export files are downloaded or displayed depending on the browser/operating system settings.For details on the available export formats, see the General > Export Formats chapter of this manual.
Button New
Press New to create a new person. Enter the required information about the person on the tab General Data and press Save.
Tab General Data
This is where you store and edit personal data. You can individually define which fields and areas are available here via Settings > tab General.
Personal data that is transferred from external systems (e.g. SAP) cannot be changed here. They must be edited in the respective source system.
Tab Permissions
Here you can grant (Add Device Group / Add Device) or revoke (Remove Group / Remove Device) permissions for a person.
The lists on the tabs Add Group / Add Device provide an overview of all permissions linked to the person. The column Origin indicates where the permission comes from. For example, it could have been passed on to the person via a person group or transferred from the Janitor system.
If the tabs Delete Device or Delete Group contain a device or device group, access via this device or device group is not possible. This also applies if a permission for the device or device group has been granted on the tab Add Device or Add Device Group.
A tick after the title of a tab indicates that there is data within the tab.
Workflow Permissions
This feature is optional and not available in every installation.
If assigning a device or device group is associated with a workflow, the permission becomes active only after the decision-maker approves the workflow request.
If you select a device or device group that has a workflow, a dialog box appears. This prompts you to enter values for the time model and the validity of the permission. You also have the option of leaving a comment for the decision-maker.
You can create multiple workflow requests at once. To send them, press Save.
Workflow requests are indicated by different colors:
You can extend the validity of approved permissions. To do this, press Extend. Then select new validity dates and create another workflow request.
Tab Replacement Badges
Here you can issue up to three replacement IDs for one person. Only one ID can be active at a time.
- Press Issue Badge.
- Select an ID from the list or enter the number manually. IDs marked in red are already assigned.
You can define the number range for replacement IDs individually for each location via the menu item Settings.
Tab Badge Printing
This feature is optional and not available in every installation. Depending on the version, it may also be available in the main menu.
This tab allows you to print badges with the person’s information. You can define the layouts for printing badges via the menu item Badge Printing > Settings.
Tab Documents
Here you can link documents to the personnel master record. To upload new documents, drag the file(s) into the area provided. Or press Upload Documents and select the desired files on your computer.
Tab Person Groups
Here you can see to which person groups the selected person is assigned. You can manually add or exclude person groups. Manual adjustments overwrite the automatic assignment based on the person’s criteria.
Manual adjustments are marked accordingly:
- Manually assigned: The person group is highlighted in green and the note manually assigned is added.
- Manually excluded: The group of persons is highlighted in yellow and the note manually excluded is added.
You can remove manual adjustments at any time using the trash can icon.
Tab Qualifications
Qualifications enable you to unlock permissions for the selected person. Use the menu item Qualifications to specify which qualifications can be selected here.
Tab Identification
Here you can manage the various media that a person can use to identify themselves on a device. To add a new identification medium, press Add.
- Identification: Enter the value for the medium in this column (e.g. “F DD 193E” for a license plate).
- Type: Select the type of identification in this column (e.g. license plate).
- Valid from / Valid to: Define a validity period for the medium.
- Prohibition: In this column, you can block individual identification media.
- Reason for ban: You can enter a comment here as a reason for the ban.
- To remove an identification medium, use the trash icon.
Press Save to save the entries.