
Roles
Use the menu item Roles to define the permissions that can be assigned to users via roles. A distinction is made between permissions for the individual menus and permissions for data.
List of rolls
The list contains the rolls already created.
- Select an entry to view details.
- Use the corresponding trash icon to remove a roll.
Attention: Roles assigned to users can also be removed. These users will then no longer have the permissions from the corresponding role.
Button New
- Press New to create a new role.
- Enter a meaningful Description.
- If the role is to affect employee logon permissions, activate the option Employee Role.
- Press Save.
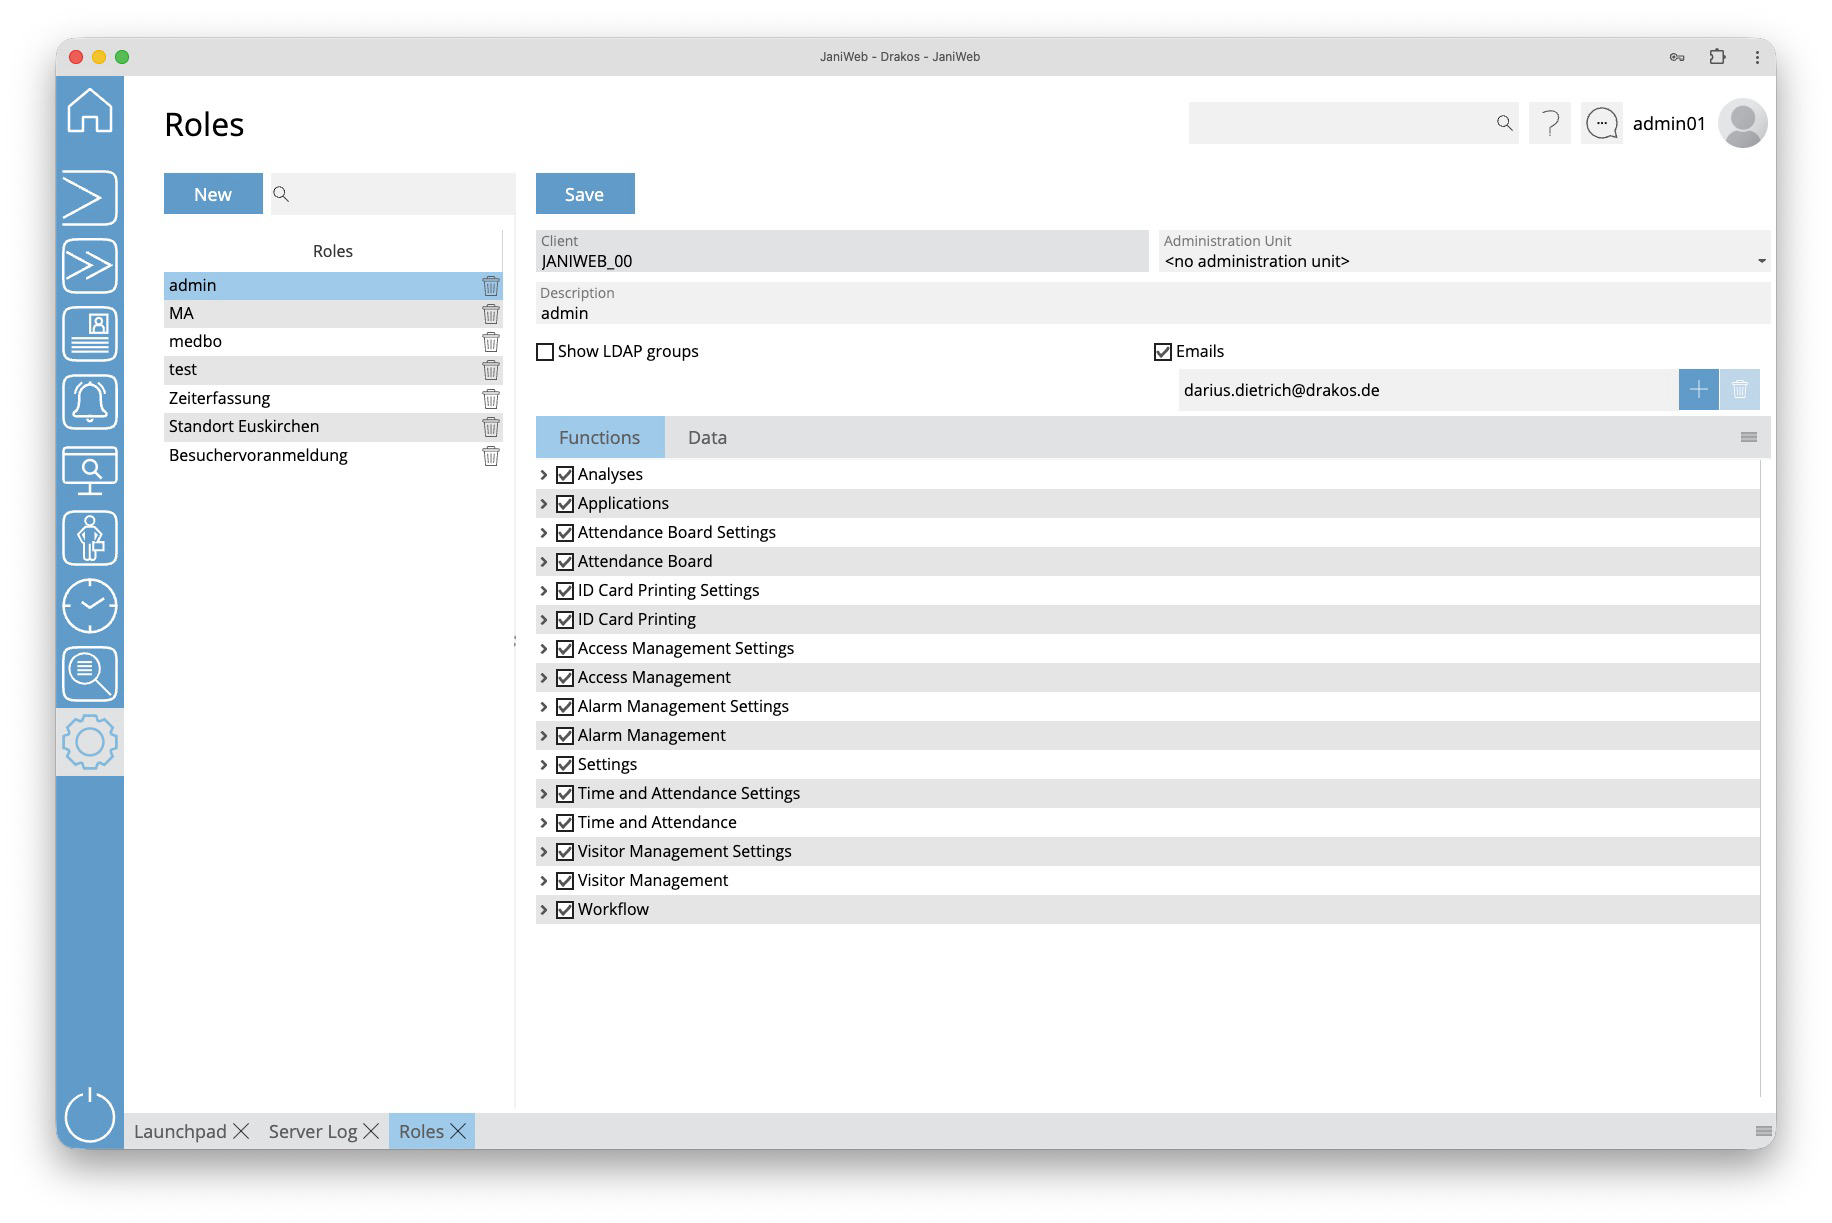
Detail area
Specify additional details and the permissions for the role.
- Show LDAP groups: Select this option if the role should map permissions for LDAP users. Then add the corresponding LDAP group(s) using the plus icon. Enter the complete Distinguished Name (DN).
- Emails: Add Emails for Users which should also use the Admin-Login via SSO.
- Employee Role: An employee role has fewer permissions than other roles. For example, people with this role cannot create or change devices and do not have access to settings. An employee role is automatically assigned to the people who are assigned on the tab Data under Employee Groups and activated in the column Permissions. It is possible to create different employee roles for parts of the employees to unlock different functions.
Tab Functions
This is where you define the access rights for the menu.
- Select the menu items in the menu structure for which you want to grant access rights.
- If menu items allow you to Change data, a checkbox with the same name appears. Select this option if you want the role to be able to change this data.
Tab Data
This is where you define the permissions for accessing data, subdivided according to the data’s affiliation. The parent permission is always provided by the client associated with the data. If the client does not have this permission, the data is read-only, even if the child data has permission.
- Select an element in the column Permission type.
- Select the checkbox in the column Permission for each item you want to grant permission for.
- Select the checkbox in the column Change if you want the role to allow modification of this data.
- Use Employee Groups to restrict the permission to display personnel master records. Only the personnel master records of the person groups that are activated in the column Permissions are displayed.
TIPS
If a role should have permission for all newly created data of a type, activate the element All new [data type].