
Zone Status Persons
You can use this menu item to manually manage the location of persons in the zones. This allows you to correct incorrect bookings of zones.
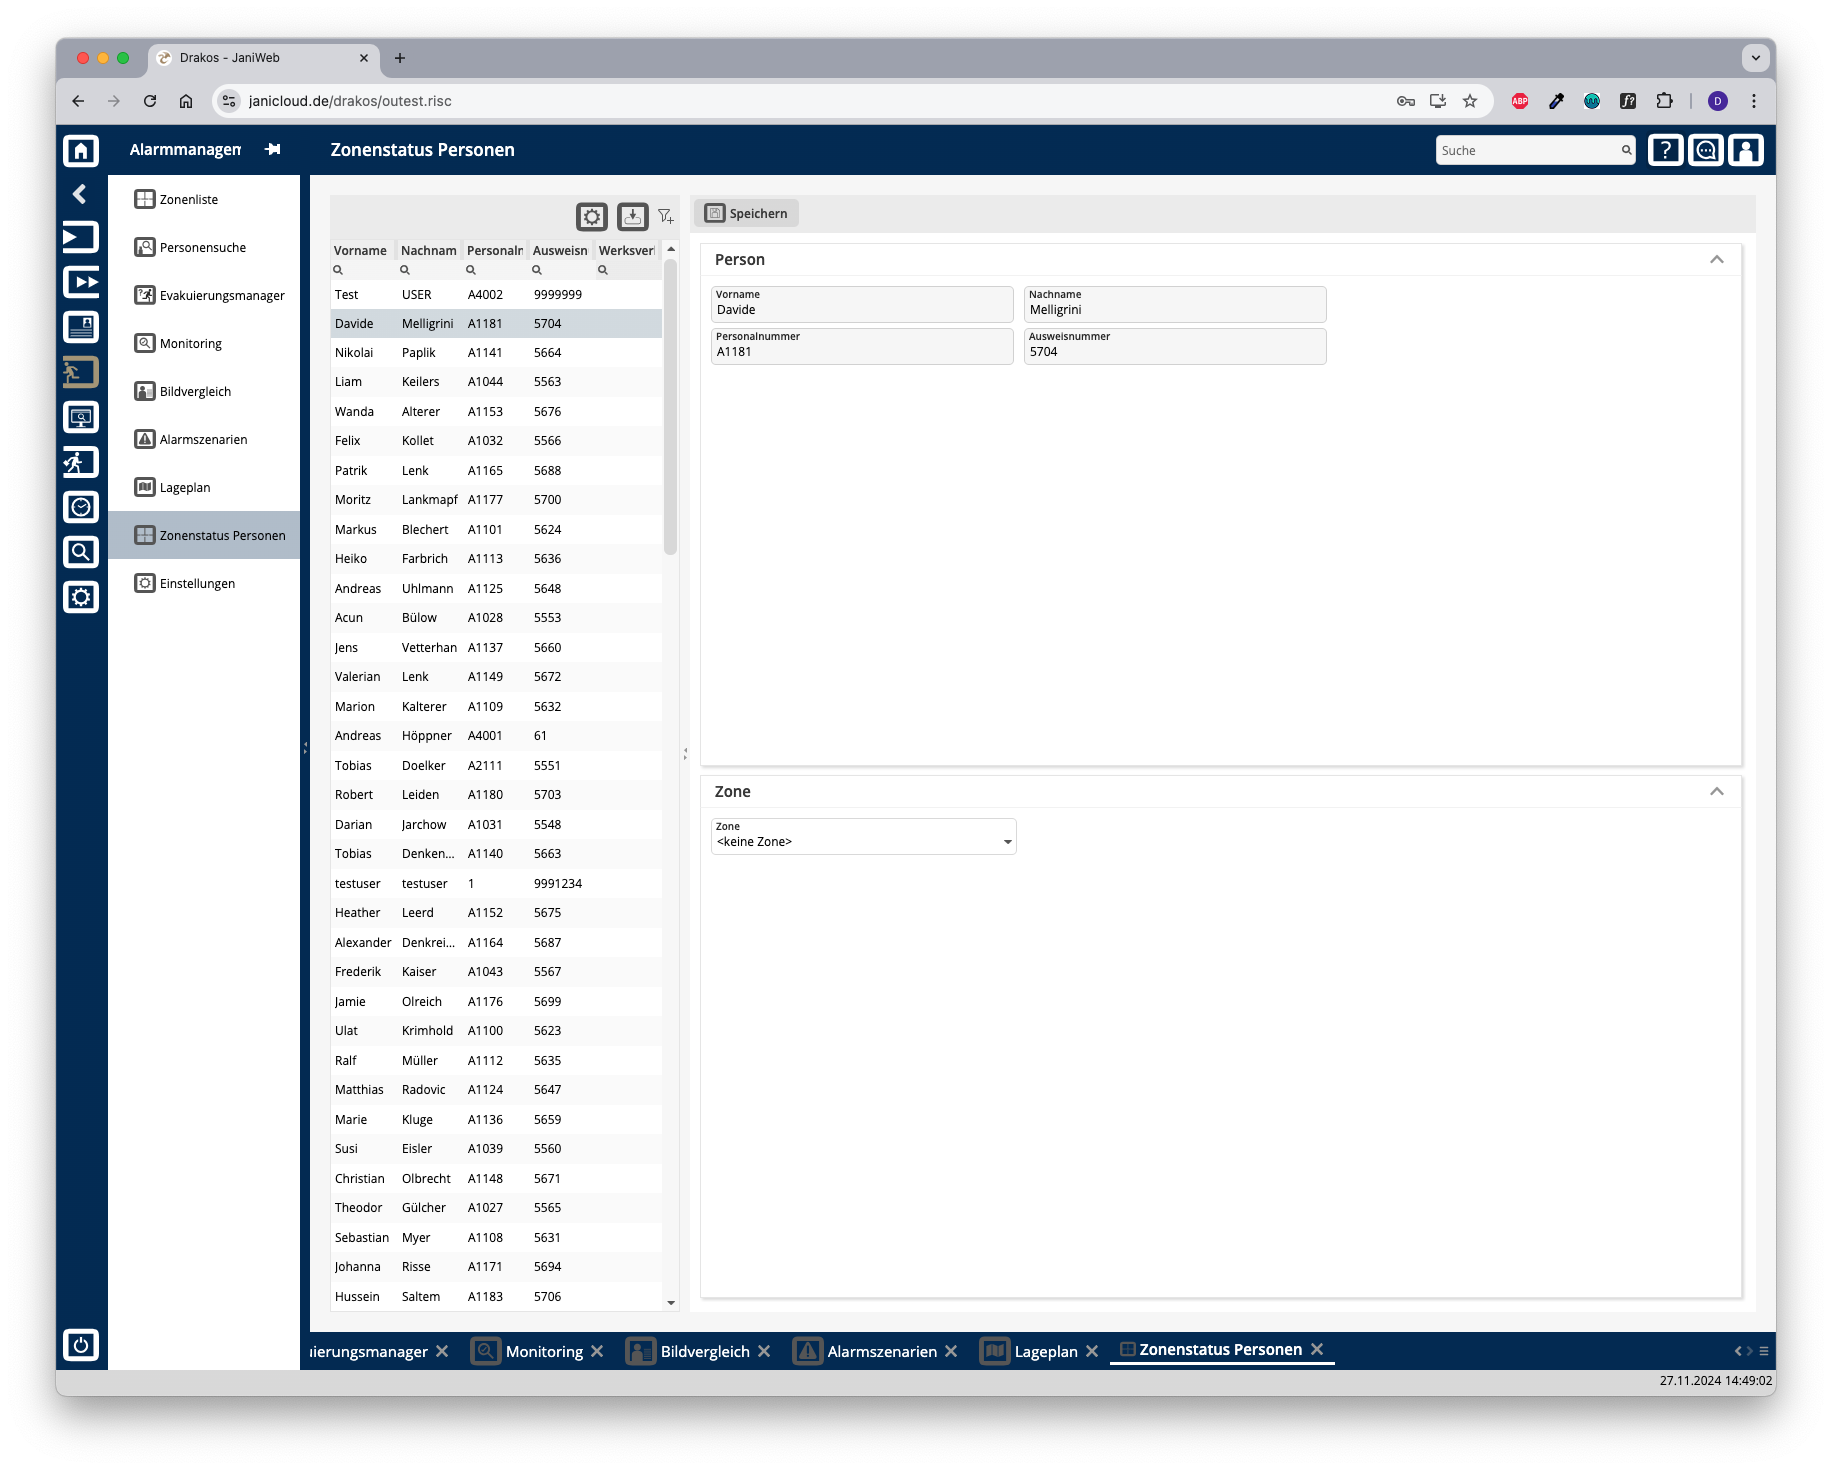
List of persons
The list contains the persons created in the system. Select a person to view details.
The list offers the following options:
- Select columns to display: Press the gear icon. Select which columns you want to display and in which order. Arrange the columns using the mouse or the arrow icons. Press Apply to adopt the changes.
- Filter by client and status: Press the filter icon. Select the clients and the status (Active, Active in future, Inactive) for which persons should be displayed. Changes are visible immediately.
- Search in columns: Enter text or numbers in the search field (magnifying glass icon) of a column to search for names, personnel numbers, or other criteria. The entries take effect immediately: the list only displays hits.
Tip: Search for substrings. You can find “Spencer-Churchill” with “spe”, “chur” or “hill”. The search is not case sensitive. - Export the entire list: Press the download icon. Select the format in which you want to export the list. The export files are downloaded or displayed depending on the browser/operating system settings.For details on the available export formats, see the General > Export Formats chapter of this manual.
Area Person
The most important details of the selected person (First Name, Surname, Personnel number, badge number) appear here. No changes can be made in this area.
Area Zone
The Zone field shows the zone currently booked for the selected person.
Select the zone in which the person is actually located.
Button Save
Press Save to assign the person to the new zone.
TIPS
Use this menu item if zone bookings have not worked as desired. This can happen, for example, if people have forgotten to book.